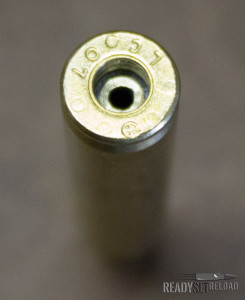
223/556 Brass with Military Crimp
Military Crimp Removal and Flash Hole Deburring
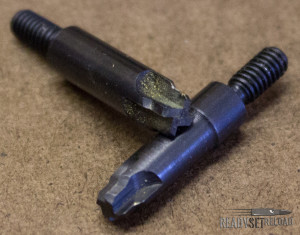
Primer Pocket Reaming Bits
In this section I’ll show you why military crimp removal and deburring the flash hole are important. You are only required to do each of these tasks on new factory fired brass. There are a couple different ways to accomplish these tasks; I’ll show you the way I do them.
First we will talk about the military crimp. This is applied on factory ammo that has been manufactured for the military. My experience has shown that any ammo that is sold in bulk that is a caliber that the military commonly uses (like 556) will have a military crimp. Normally, if I buy ammo that isn’t sold in bulk I open the box in the store and check to see if its crimped. I try to avoid this type of ammo if I can but its not a huge deal to remove the crimp as I will show you.
I started off removing the military crimp with a reaming tool. It’s basically a bit that you insert into a hand tool that shaves the crimp (brass) away so the primer can be inserted into the primer pocket. I found this method to be inconsistent and realized that because of this it may affect accuracy. These bits are included if you purchase a Lyman Case Prep Multi Tool which I discuss in the last part of this series.
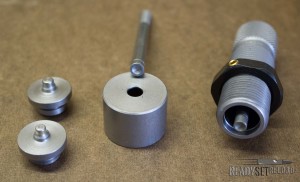
RCBS Primer Pocket Swager Tool

RCBS Primer Pocket Swager Tool
I soon realized that I RCBS made a swaging tool that I could put in my press to remove the crimp which would be much more consistent. Here is how you adjust the swagging tool in your press:
- Thread the desired size Swager Rod into the Swager Body until the groove on the rod lines up with the bottom of the die.
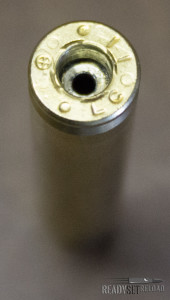
223/556 Brass with Swaged Primer Pocket
- Install the Lug Nute, tapered side down onto the Swager Rod and tighten.
- Insert the desired Swager Head into the shell holder slot of the ram on your press.
- Thread the assembled Swager Body into your press three or four turns.
- Slide the Case Stripper over the Swager Head that you inserted on the ram of your press.
- Guide a deprimed case into the Swager Rod as you lower the handle of the press all the way down.
- Continue threading the assembled Swager Body until it contacts the inside of the deprimed case.
- Raise the handle of press slightly and thread the assembled Swager Body down 1/4 of a turn.
- Lower the handle forcing the deprimed case onto the Swager Head.
- Raise the handle completely; at the top of the stroke the Case Stripper will contact the frame of your press and remove the deprimed case from the Swager Head.
NOTE: Another method to load the swager body in the press would be to insert the swager head & case stripper, raise the ram, screw the body down against the case stripper then back it off 1/2 or 1 turn so it won’t cam.
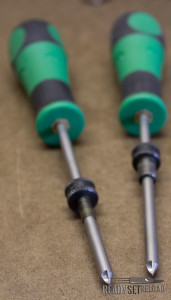
Primer Pocket Deburring Tool
The other task that you will want to complete the first time you reload new factory fired brass is deburring the primer pocket. This step is optional but is easy doesn’t consume much time. My understanding of this is quite simple. During the manufacturing process the flash hole which is located in the primer pocket is “punched” out. Sometimes, especially with cheaper ammo, the punching process isn’t clean and leaves a burr on the inside of the brass. Removing this burr will help the primer ignite the powder in a more consistent manner.
To remove the burr take the deburring tool and spin it a couple times inside the brass as show in the video above. Like I said, these steps are only necessary the first time you reload factory fired brass.
In the next section I’ll discuss how to use calipers which are required tools of any handloader.

Caliber Indicator on a Primer Pocket Deburring Tool
Equipment discussed in this section:

